02 — Getting Started
This section walks through system requirements, the login process, the navigation structure, and what each role should do on their first session.
1. System Requirements
Regnify runs entirely in the browser. No software installation is required.
| Requirement | Minimum |
|---|---|
| Browser | Google Chrome 110+, Mozilla Firefox 115+, Microsoft Edge 110+, or Safari 16+ |
| Internet connection | Required at all times (no offline mode) |
| Screen resolution | 1280 × 768 or higher recommended |
| Cookies and JavaScript | Must be enabled |
Note: Regnify uses the Keycloak Single Sign-On system. If your organisation uses a corporate proxy, ensure that the Keycloak authentication endpoint at
https://regnify.regnify.dev/keycloakis accessible.
2. Logging In
Regnify uses OpenID Connect with PKCE (Proof Key for Code Exchange), a modern browser-based authentication flow. Your credentials are entered directly into the Keycloak login page, not into the Regnify application itself. Regnify never sees your password.
Step-by-step login
- Open your browser and navigate to
https://regnify.regnify.dev.
The browser redirects you automatically to the Keycloak login page.
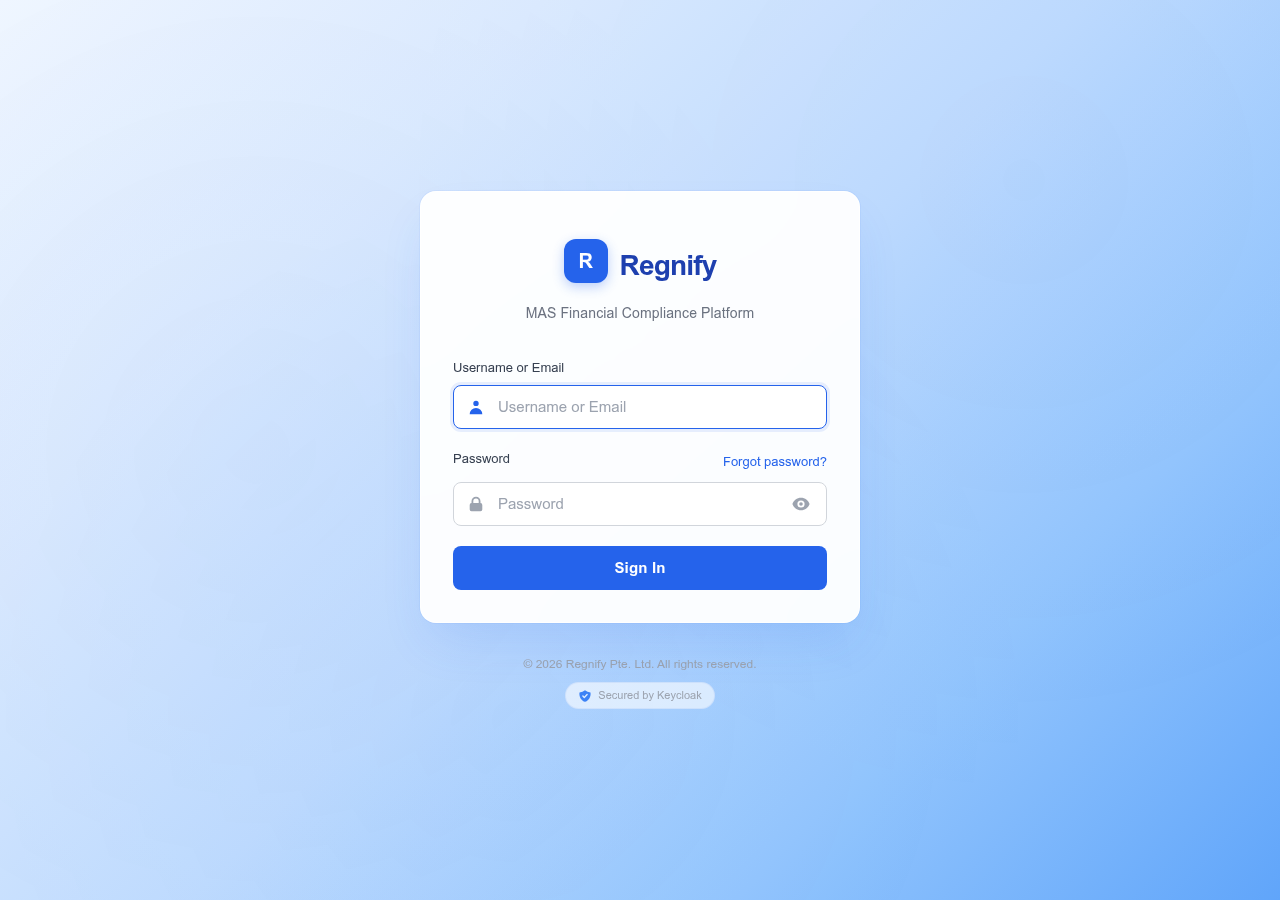 The Keycloak login page — enter your username and password here
- Enter your username and password in the fields provided.
Demo credentials use the format username / Regnify@2026. Your organisation administrator will supply your production credentials.
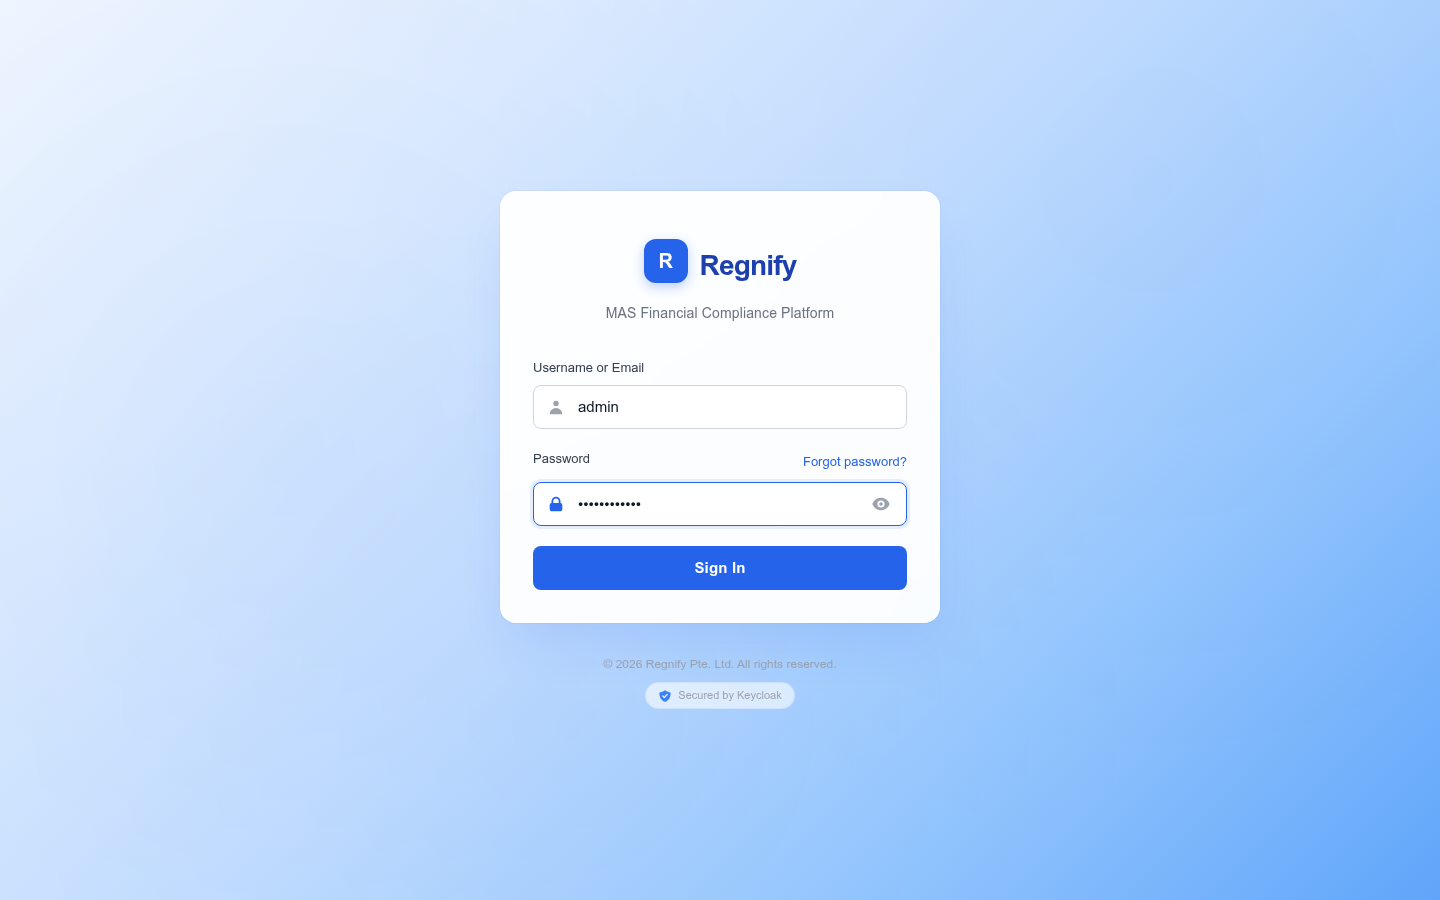 Credentials entered — click "Sign In" to continue
- Click Sign In.
Keycloak validates your credentials, issues an access token, and redirects you back to https://regnify.regnify.dev/dashboard. The redirect takes approximately one to two seconds.
- You land on your role-specific dashboard. The platform automatically selects the correct dashboard based on your assigned role.
Important: Your session token refreshes automatically every 30 seconds while the browser tab is open. If you close the tab and return, you may be asked to log in again. This is expected security behaviour.
Forgot your password
Click the Forgot password? link on the Keycloak login page. You are taken to the Reset Password page where you enter your username or email address and click Send Reset Link. Keycloak emails you a time-limited link to set a new password.
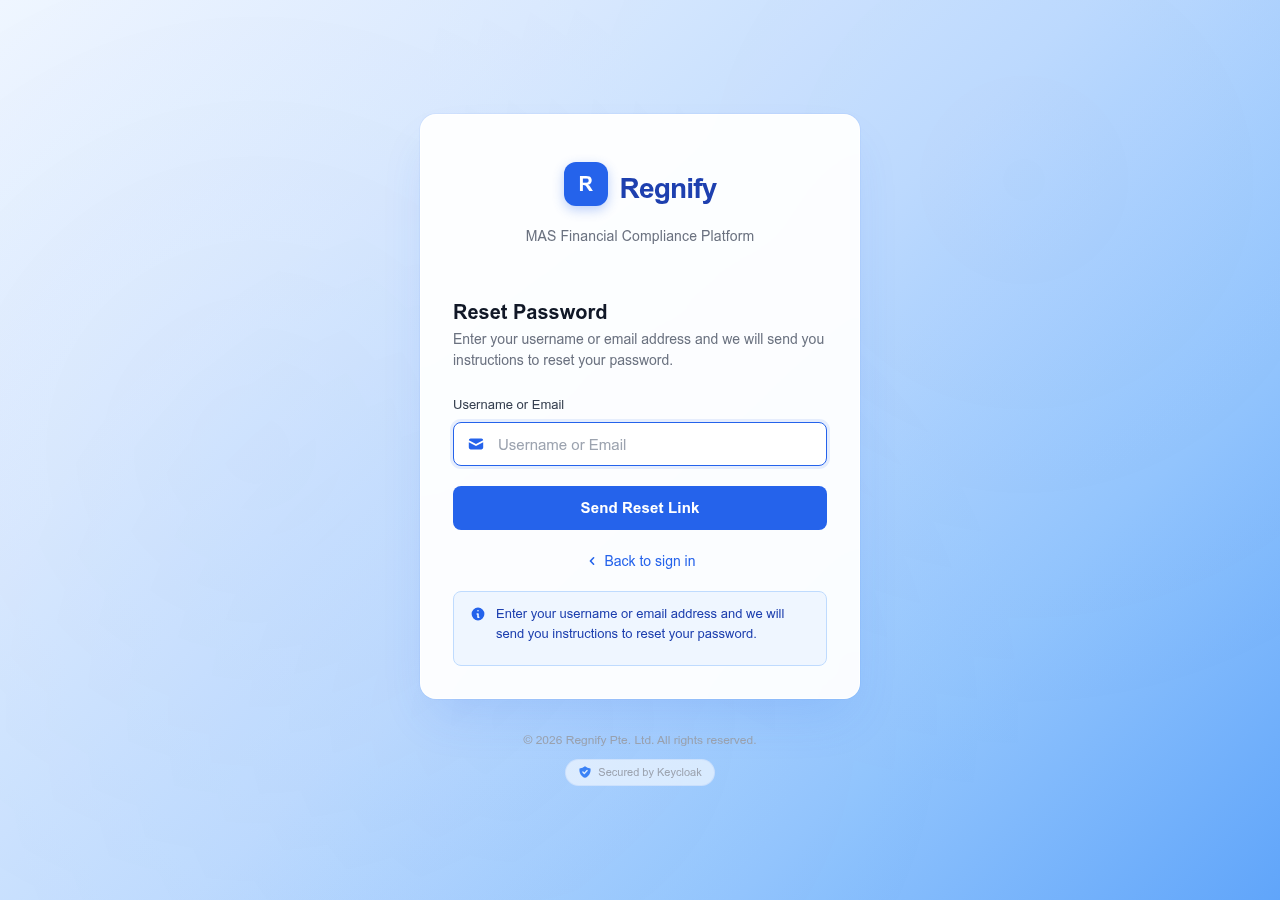 The Reset Password page — enter your username or email address and click "Send Reset Link" to receive a password reset email
3. Understanding the Navigation
The main application layout has two key areas: the sidebar (left) and the header bar (top). The Representative portal (/rep) uses a different, simpler navigation — see section 4 and 03 — Dashboard by Role for details.
The Sidebar
The sidebar lists all pages your role can access. It appears on the left side of every page inside the main application.
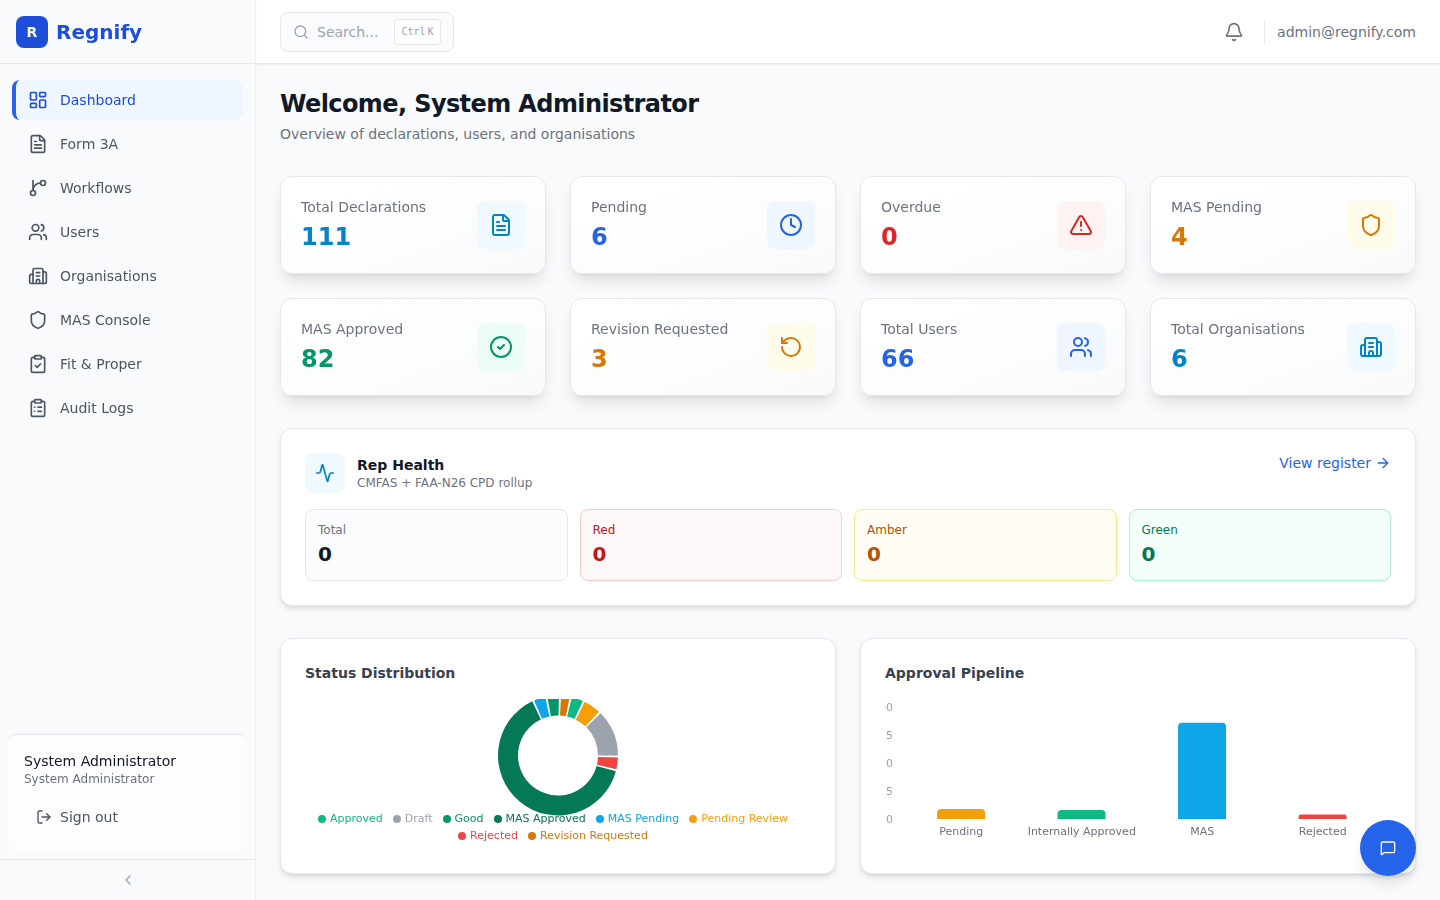 The sidebar expanded — shows the Regnify logo, navigation items, and the user footer at the bottom
Navigation items by role (verified against AppLayout.tsx NAV_ITEMS):
| Item | Route | Roles that see it |
|---|---|---|
| Dashboard | /dashboard |
SYS_ADMIN, ORG_ADMIN, FI_USER, HR_ADMIN, COMP |
| Form 3A | /form3a/new |
SYS_ADMIN, ORG_ADMIN, FI_USER, HR_ADMIN, COMP |
| Workflows | /workflows |
SYS_ADMIN, ORG_ADMIN, HR_ADMIN |
| Users | /users |
SYS_ADMIN, ORG_ADMIN |
| Organisations | /organisations |
SYS_ADMIN only |
| MAS Console | /mas-console |
SYS_ADMIN, COMP |
| Fit and Proper | /fit-and-proper |
FI_USER only |
| Audit Logs | /audit-logs |
SYS_ADMIN, ORG_ADMIN |
Additional role-gated pages accessible via the dashboard or direct navigation (not in the sidebar menu):
| Page | Route | Roles |
|---|---|---|
| Rep Register | /admin/rep-register |
SYS_ADMIN, ORG_ADMIN, HR_ADMIN, COMP |
| Attestation Cycles | /admin/attestation |
SYS_ADMIN, ORG_ADMIN, HR_ADMIN, COMP |
| Declaration Detail | /declarations/:id |
All non-REP_USER roles |
| Workflow Approval | /workflow/:declarationId |
Approvers (by role or is_approver flag) |
| MAS Details | /mas-details/:declarationId |
SYS_ADMIN, COMP |
The active page is highlighted with a blue left border and blue text in the sidebar item.
Collapsing the Sidebar
On desktop screens, the sidebar can be collapsed to icon-only mode to give more space to the main content area.
- Click the chevron left button at the very bottom of the sidebar to collapse it.
- When collapsed, each navigation item shows only its icon. Hover over an icon to see a tooltip with the item name.
- Click the chevron right button to expand the sidebar again.
- The collapsed or expanded state is saved in your browser and persists across sessions.
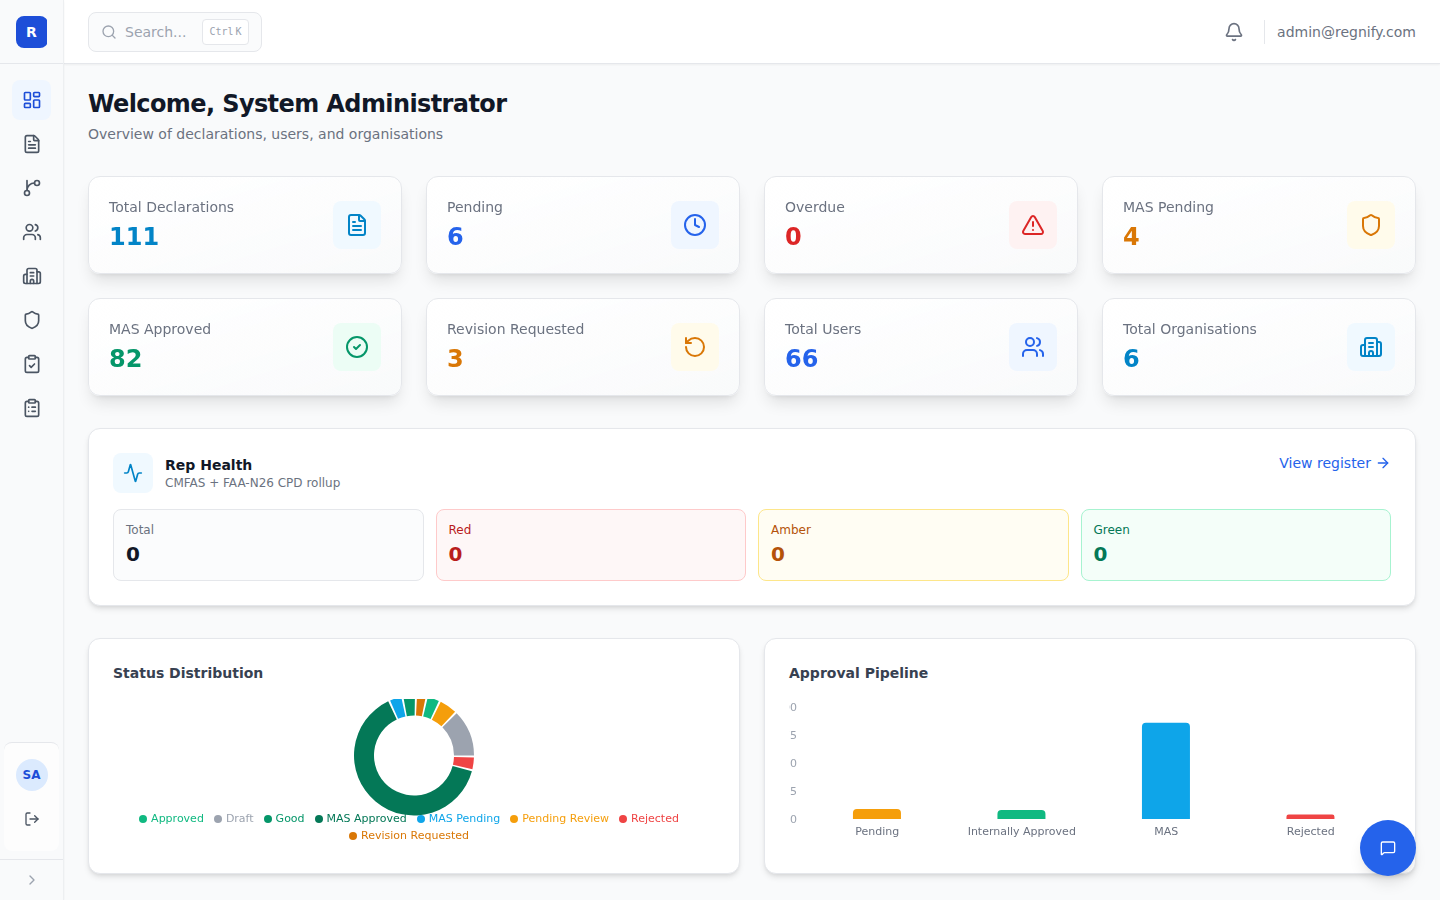 Collapsed sidebar — icons only, hover for labels
The Sidebar Footer
At the bottom of the sidebar (above the collapse toggle) is a footer panel showing:
- Your display name (from Keycloak)
- Your role label (for example, "System Administrator" or "Compliance")
- A Sign out button
Clicking Sign out clears your session token and redirects you back to the Keycloak login page.
The Header Bar
The header bar runs across the top of every page.
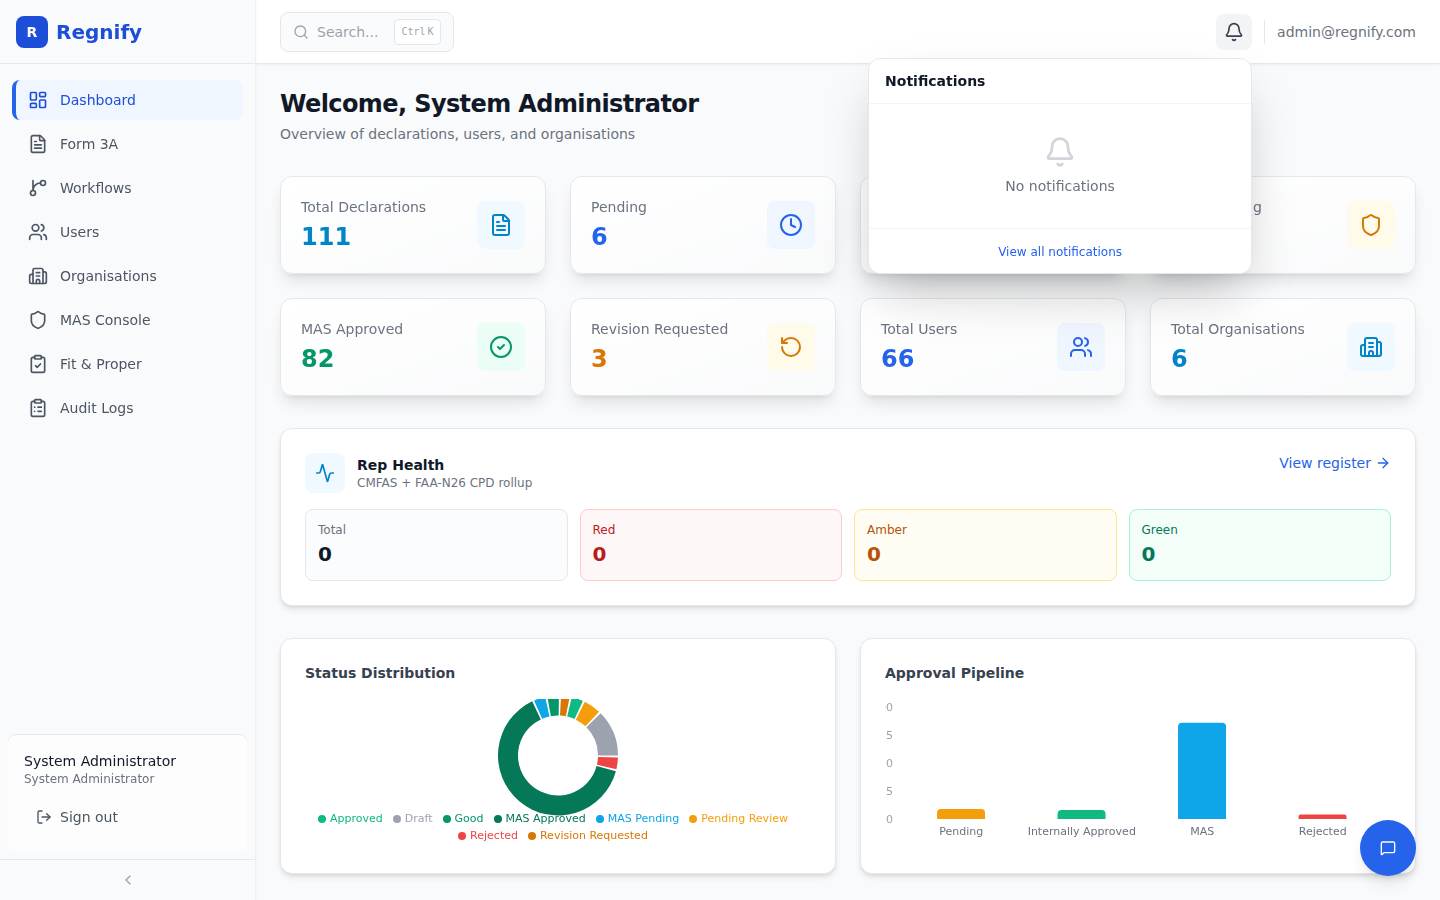 The header bar — search trigger on the left, notification bell and user email on the right
Header controls from left to right:
-
Hamburger menu button (mobile only, < 1024 px wide) — opens the sidebar as a slide-over drawer.
-
Search bar / trigger — a click target labelled "Search..." with the keyboard shortcut displayed (
⌘Kon macOS,Ctrl+Kon Windows/Linux). Clicking it (or pressing the shortcut) opens the Global Search Modal.
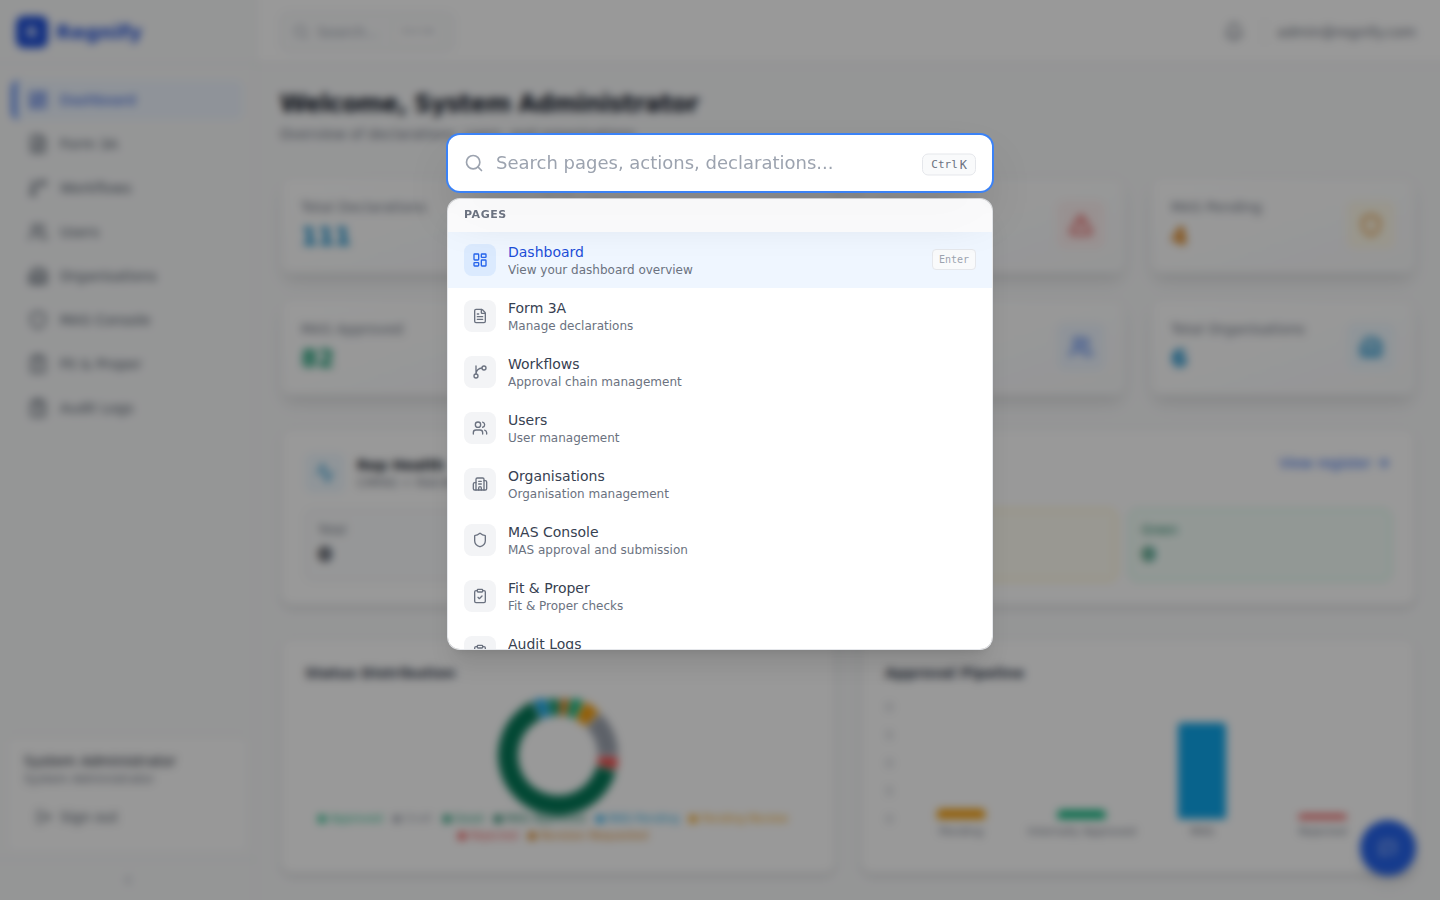 The global search modal — type to search across declarations, users, and organisations
-
Notification bell — shows the count of unread notifications as a red badge. Click the bell to open the notification dropdown. Notifications include approval actions, revision requests, MAS status updates, and user events. Notifications generated by the AI assistant are marked with a small "AI" badge next to the notification title.
-
User email — your current email address, shown as a read-only label.
The AI Compliance Assistant
A floating AI chat button is available on every page within the main application. Click the chat bubble icon in the lower-right corner of the screen to open the AI compliance assistant.
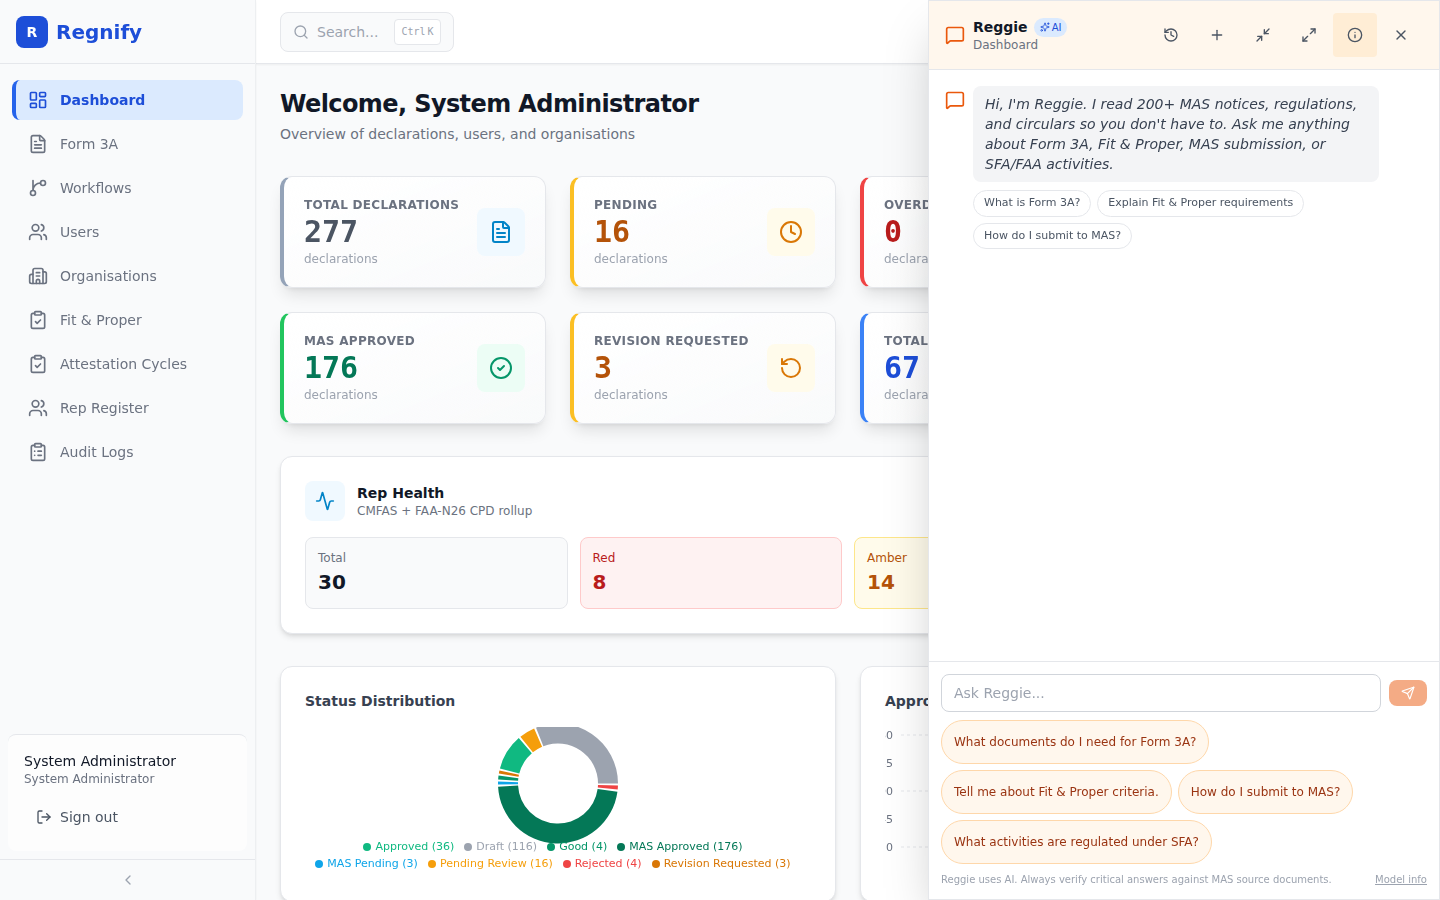 The AI assistant — minimised state, floating in the lower right
The assistant opens as a resizable chat panel. You can:
- Type a free-text question about MAS regulations, declarations, workflows, or representative status.
- Use the quick-question shortcuts at the top of the panel to jump to common topics.
- Click Minimise to collapse the panel without losing the conversation.
- Click Expand for a larger view.
- Click History to browse and resume previous chat rooms.
- Click X (close) to dismiss the panel. Your conversation is saved and accessible via History.
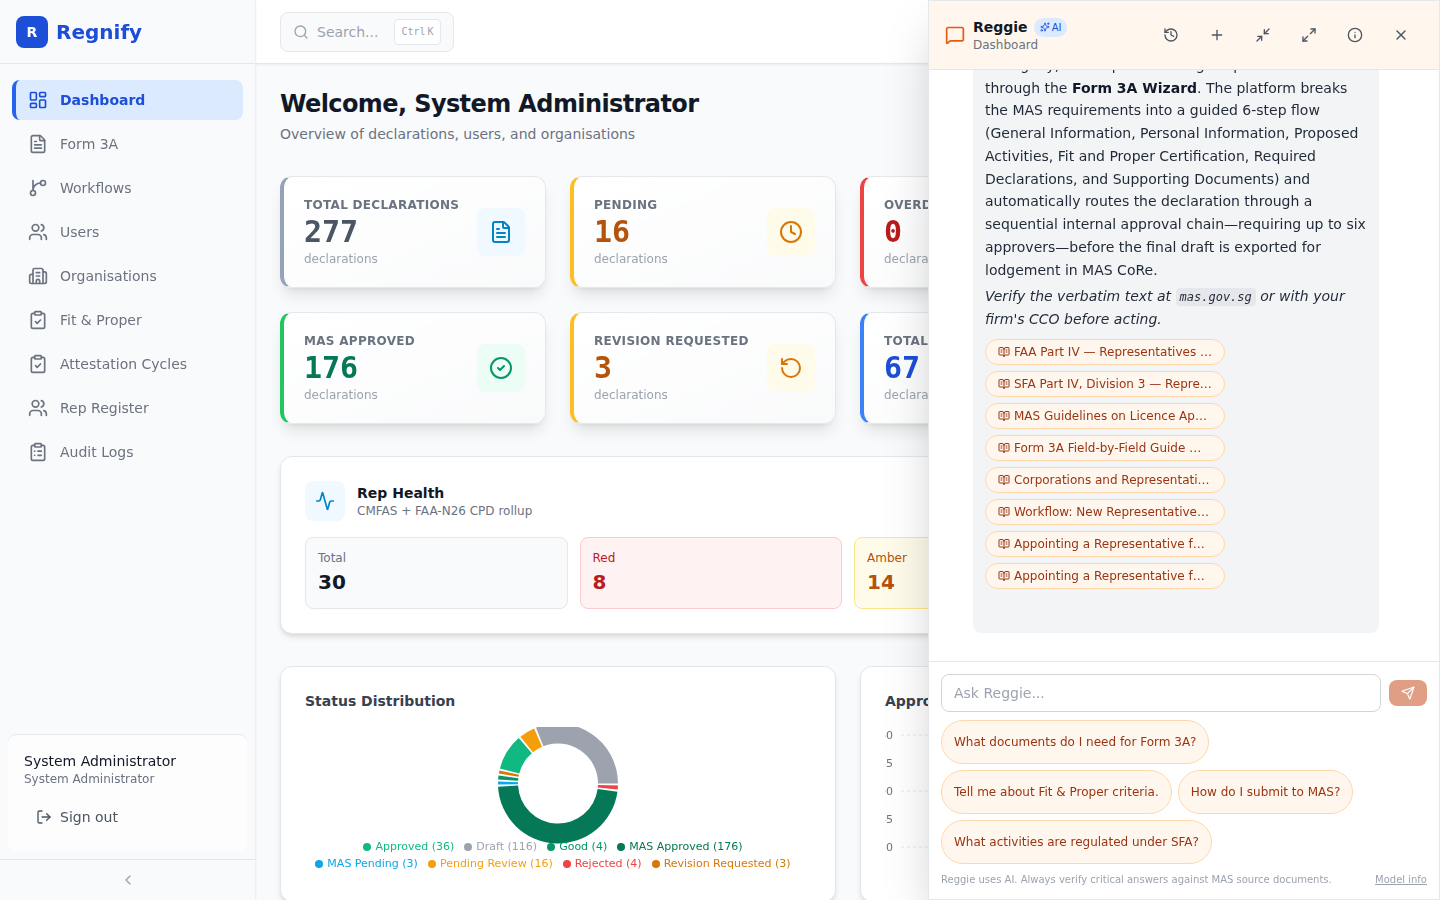 An active conversation — the assistant cites the specific MAS document section it retrieved
Tip: The AI assistant supports Mermaid diagram syntax. If you ask it to explain a workflow or decision tree, it may respond with an interactive flowchart rendered directly in the chat.
4. Your First Login by Role
System Administrator (SYS_ADMIN)
You land on the Admin Dashboard at /dashboard. This is the most comprehensive view: platform-wide declaration counts, overdue alerts, user and organisation totals, a status distribution chart, an approval pipeline chart, and a representative health card. Your sidebar shows all eight items. Start by reviewing the Overdue count — these are declarations that have been waiting for an approver for more than five days.
Navigate to Users to verify that all organisation members have the correct roles, or to Organisations to confirm that organisations are correctly configured before representatives begin submitting declarations.
Organisation Administrator (ORG_ADMIN)
You land on the Admin Dashboard at /dashboard, scoped to your organisation's data. Your sidebar shows Dashboard, Form 3A, Workflows, Users, and Audit Logs (Organisations is not visible — you manage your own organisation, not others). Start by checking the declaration table for any overdue items in the Overdue tab.
Navigate to Workflows to confirm that approval chain templates are configured correctly for your organisation before representatives begin submitting.
Human Resources Administrator (HR_ADMIN)
You land on the Approver Dashboard at /dashboard. The default tab is My Approval Queue — the list of declarations currently waiting for your review. The metric cards at the top show how many items are awaiting your action, how many are overdue (waiting more than five days), how many you have already approved, and the total declaration count.
Your sidebar shows Dashboard, Form 3A, and Workflows. Start by clicking Review on any item in your queue. If you see an overdue alert banner at the top of the page, address those items first.
Compliance Officer (COMP)
You land on the Approver Dashboard at /dashboard. Like the Human Resources Administrator, your default view is your approval queue. However, your sidebar also shows MAS Console for submitting internally-approved declarations to MAS.
After clearing your queue, navigate to /admin/rep-register (accessible via the dashboard's Rep Health card or directly by URL) to review the representative register and the Red/Amber/Green health flags computed from CMFAS and CPD status under FAA-N26 thresholds.
Navigate to /admin/attestation to manage attestation cycles.
Financial Institution User / Representative (FI_USER)
You land on the Representative Dashboard at /dashboard. This view is scoped to your own declarations only. The metric cards show your drafts, submitted items, items requiring changes, and completed declarations.
Your sidebar shows Dashboard, Form 3A, and Fit and Proper. Start by clicking Start New Declaration (the primary button in the page header) if you need to begin a new Form 3A application. If you have items in the Requires Changes tab, address those first — they have been sent back by an approver and are awaiting your revision and resubmission.
Note: Financial institution users who have the
is_approverflag set on their account (supervisors, managers, and CEOs in the approval chain) see the Approver Dashboard instead of the Representative Dashboard.
Representative Portal User (REP_USER)
The representative portal is a separate, simpler interface at /rep. When you log in with a REP_USER account, you are redirected to /rep — not /dashboard. The main application sidebar does not appear. Instead, a horizontal tab navigation bar at the top of the screen provides access to five sections:
| Tab | Route | Purpose |
|---|---|---|
| Dashboard | /rep |
Welcome page with shortcuts to each section |
| My Passport | /rep/passport |
Licence records, examination history, and regulatory status |
| Attestations | /rep/attestations |
Annual declarations and fit-and-proper attestations |
| CPD Log | /rep/cpd |
Continuing Professional Development activity tracking |
| Incident Disclosure | /rep/incidents |
Self-report regulatory or disciplinary events |
Start by visiting My Passport to review your current licence status and CMFAS examination record.
5. Logging Out
To end your session:
- In the sidebar footer (bottom of the left sidebar), click Sign out.
- The platform clears your session token from browser storage.
- Keycloak redirects you back to the login page at
https://regnify.regnify.dev.
Your session also ends automatically if your browser tab is closed and the access token cannot be refreshed. There is no persistent "remember me" option — each browser session requires a fresh login for security.
Important: Regnify does not currently support concurrent sessions across multiple browsers. If you open the application in a second browser while already logged in elsewhere, only the most recently authenticated session will remain valid.
Related sections: Introduction | Dashboard by Role